
How to Film Interviews on a Smartphone
Last reviewed March 2026
Your smartphone can produce genuinely professional interview videos without needing a big crew or expensive cameras. I have spent plenty of time showing brands how to capture engaging interviews using nothing more than a smartphone and decent audio gear. The results can look far better than people expect when the setup choices are right. What usually separates a usable interview from a frustrating one is the order of decisions around location, sound, framing, and prep. If you want the wider workflow behind those decisions, the video production fundamentals for creators and small teams page gives the bigger picture that this interview guide fits into. Polished content holds attention and tells a strong story. To sidestep common pitfalls like background noise or flat batteries, take a look at tips on avoiding filming mistakes elsewhere on the site.
Here are ten straightforward steps to help you film standout interviews on your smartphone, whether you are just starting or sharpening your approach. The quickest route to a good result is usually this order. Pick the location first, sort the audio next, frame the shot, then record a short test before the full interview.
Why Your Smartphone Works Brilliantly for Interviews
Smartphones are a strong fit for interviews because they combine portability, image quality, and speed in one device. The key is to treat them as part of a wider setup rather than a complete solution on their own. The table below sums up why they work well and what to watch for before you start recording.
| Why smartphones work well | What it means in practice |
|---|---|
| Strong video quality in a compact setup | Modern phones can record very sharp video, often in 4K and on some models at even higher resolutions, which is more than enough for many interview projects. |
| Fast and flexible production workflow | They work well for creators, remote teams, and quick turnaround shoots because you can film, review, and share from one device. |
| Extra control through apps and accessories | Manual controls, stabilisation tools, and background blur modes can help, especially when paired with a tripod and an external microphone. |
| Capable, but not all devices are the same | Recording formats, frame rates, and camera modes vary by model and operating system version, so check what your phone supports before shoot day. |
Many recent phones also support high quality recording formats that give editors more flexibility in grading and finishing. Reporters rely on them for mobile journalism too, capturing stories as they unfold. Your interviews can reach a strong level of polish, whether standalone clips or part of bigger edits, especially when audio and lighting are treated as the first priorities rather than extras.
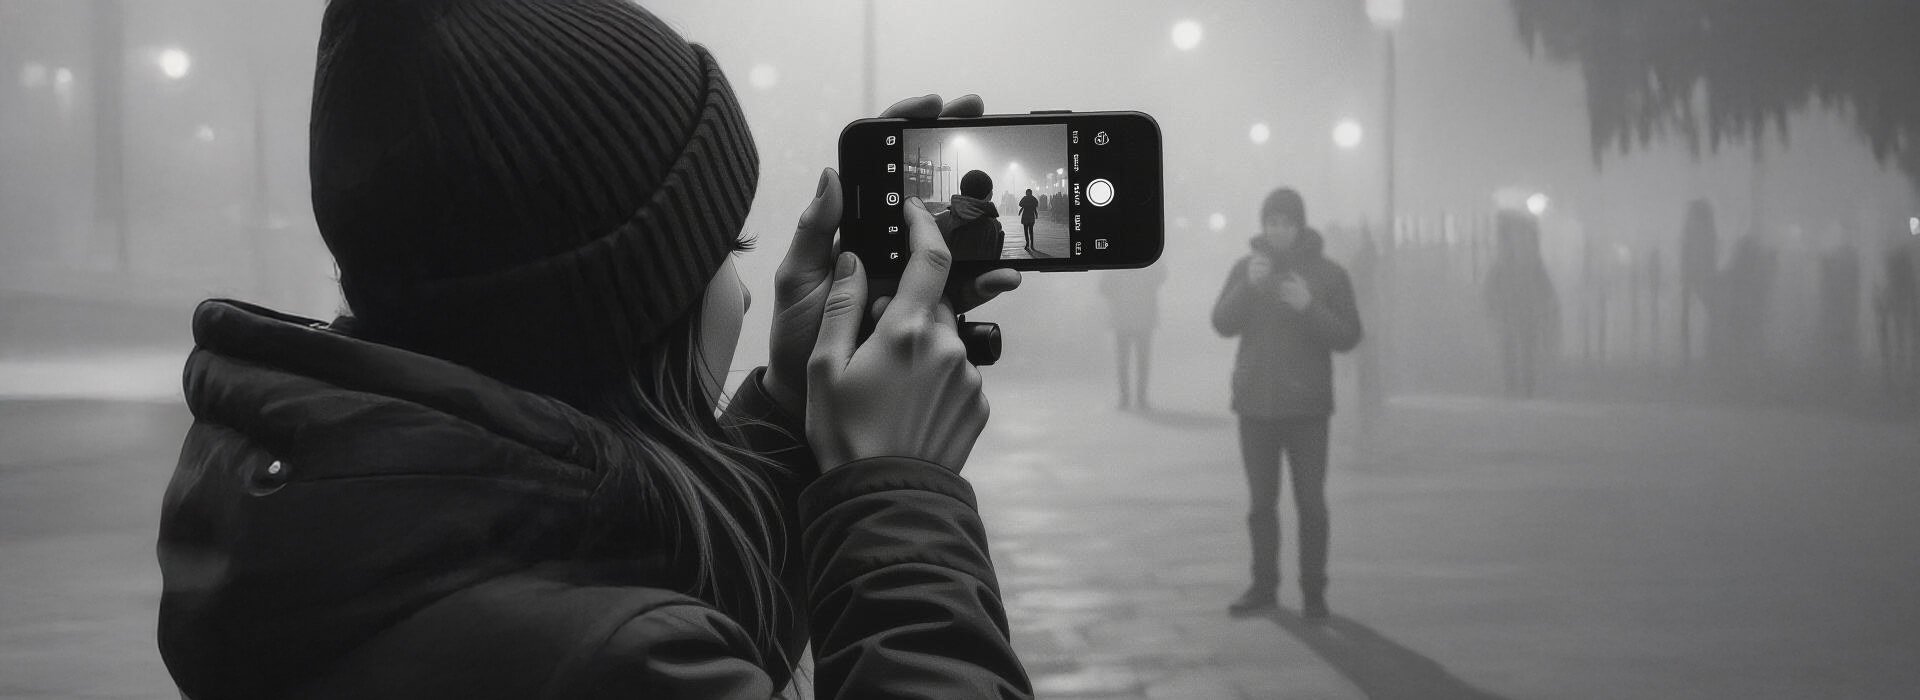
Step 1. Choose Your Camera App
Begin with the tool you will use to record. The built in camera app keeps things simple and delivers excellent quality right away, which can make it ideal for newcomers. For greater control, apps such as FiLMiC Pro let you adjust focus, exposure, frame rates, and audio settings manually. Other apps, including Blackmagic Camera on supported devices, offer tools like shutter controls, ISO adjustment, and workflow features that can fit well with desktop editing.
A practical rule is to use the built in app when speed and reliability matter most, then move to a pro app when you have time to test settings and monitor them properly. More controls can help, but they can also create mistakes if you change too much while interviewing. Pick whichever matches your experience and project needs. It sets the tone for everything else.

Three simple interview arrangements showing how seating, light direction, and tripod placement change the feel of the shot without changing the camera.
Think carefully about location and arrangement. Look for a quiet space with soft, even light. Perhaps near a large window or in gentle shade outdoors. Consider the atmosphere you want. Minimal furniture for a clean backdrop, or thoughtful decor for warmth. Will your subject sit for a relaxed chat or stand for more energy? For solo interviews, one device usually suffices. Multi-person or podcast style setups often benefit from extra angles to keep visuals dynamic.
Before you lock the setup, check three things from the subject position rather than the camera position. Background noise, background distractions, and whether the light changes across the face as clouds or people move. This quick check often prevents problems that look minor on set and feel much bigger in the edit.
Step 3. Decide on Your Smartphone Setup and Stabilisation
One smartphone handles most single subject interviews perfectly. For conversations involving several people, two or more phones can capture varied perspectives. A wide establishing shot paired with close ups, for instance. Certain apps can help sync multiple devices or make matching footage easier later. If you are deciding what support gear to add next, a budget mobile filmmaking rig for any phone can help you choose a practical setup without overbuying.
Stabilisation matters too. A tripod gives rock steady results in static setups. Handheld adds natural movement but needs a steady grip. A gimbal works well for smooth pans or tracking if you are moving around. For interviews, a tripod is usually the safest starting point unless movement adds a clear storytelling purpose. Choose based on the feel you are after.
Step 4. Pick Essential Gear
Audio upgrades make the biggest difference, so pair your smartphone with an external microphone. More on options shortly. For lighting, natural window light or an inexpensive LED light often works well. A basic setup becomes much easier to repeat when you understand simple two-point lighting process that keeps faces clear while preserving depth, especially on small interview shoots where speed matters.
If you are keeping the kit minimal, put your budget or borrowing effort in this order first. Microphone, stable support, then lighting upgrades. Viewers often forgive a simple image faster than unclear speech.
Step 5. Prepare Your Device
Charge fully and carry a power bank for extended sessions. Clear storage beforehand. High quality clips eat space quickly. Some apps let you record straight to external storage on supported devices, which can keep your phone free. If you have a second device handy, quick file transfer options can help you manage space on the go.
Switch on Do Not Disturb, close non essential apps, and keep the phone out of direct sun where possible if you are shooting for a while. Heat and interruptions can stop a good take. Record a short test clip with your exact mic and framing before the interview starts, then play it back on headphones. These small checks prevent frustrating interruptions.
Step 6. Get Your Subject Comfortable
Help your interviewee relax before rolling. Share broad topics so they feel prepared, but hold back exact questions for genuine reactions. Watch for signs of tension. Fidgeting or stiff posture. Encourage natural gestures. A comfortable subject often delivers more engaging answers.
If you are clipping on a lav mic, explain what you are doing and give the subject a moment to settle before you start. This can reduce mic handling noise and helps the conversation feel less technical once recording begins.
Step 7. Frame the Shot Perfectly
Position the smartphone at eye level for a natural viewpoint. Decide early on landscape for widescreen appeal or portrait for vertical platforms. Apply the rule of thirds. Place your subject slightly off centre for balanced composition. Add depth with background elements like plants or bookshelves. If your phone supports portrait style video or cinematic blur modes, use them carefully to reduce distractions and keep attention on the person.
Leave a little headroom and check the eyeline before recording, especially if the interviewer stands beside the phone. If you use a background blur mode, test the exact look on your device first because support and recording settings can vary by model. Resolution and frame rate options may also differ across phones and apps. Test a few setups until it feels right.
Step 8. Nail the Audio
Clear sound elevates everything. Use an external mic. Lavalier clipped close for discretion, wireless for freedom of movement, or a shotgun for directed pickup in noisier spots. Place the mic first, then listen on headphones from the exact interview position before rolling. Clothing rustle, jewellery taps, air conditioning, traffic, and room echo often show up more clearly on playback than they do while setting up.
Keep the mic as close as you can without it appearing in shot unless the look allows it. Record 10 to 15 seconds of room tone for editing fixes later. Monitor levels to avoid clipping. In group interviews, separate channels per person can simplify post production.
Step 9. Start Recording with Confidence
Bring energy to your questions. Enthusiasm draws out lively responses, while a flat delivery can lead to flatter answers. Once your subject is settled, record one short answer and review it before committing to the full session. That quick check can reveal focus drift, bad audio, or distracting background movement while it is still easy to fix.
Film in the highest quality your phone supports that your workflow can handle comfortably. Ask open ended questions to encourage detailed stories. Break the interview into shorter clips for manageable files and easier uploads. Grab extra B roll of the surroundings to enrich the edit. Most sessions wrap in 30 to 60 minutes. Afterwards, edit on the phone itself with capable apps, or transfer to a computer for finer tweaks. Add overlays and music only after you are happy with the clarity of the interview itself.
Step 10. Wardrobe and Final Touches
Suggest clothing that fits the setting. Solid colours work best, avoiding busy patterns or stripes that can cause visual artefacts. On tight budgets, blotting paper can control shine and a lint roller can remove dust from darker outfits. It also helps to avoid noisy jewellery or clothing that rubs against a lav mic if you plan to clip one on. These inexpensive details can give a noticeably sharper result.
Quick Smartphone Interview Checklist
Here is a handy reference to run through in order on shoot day so you catch problems before the first full answer is recorded.
| Task | Details |
|---|---|
| Choose App | Built in camera for simplicity or when you need the least risk on set. FiLMiC Pro, Blackmagic Camera, or another pro app for advanced controls only if you have tested the setup. |
| Plan Setup | Quiet location, good light, decide seating and number of subjects. Check background noise and distractions from the subject position. |
| Smartphone Setup and Stabilisation | One phone for solo, multiple for variety. Tripod, gimbal, or handheld. Use a tripod first for interviews unless movement adds a clear purpose. |
| Select Gear | External mic, LED light or natural sources. Prioritise mic and stable support before extra accessories. |
| Prepare Device | Full charge, clear storage, power bank ready. Do Not Disturb on, non essential apps closed, test clip recorded and reviewed. |
| Relax Subject | Share topics, encourage natural gestures. Keep exact wording flexible so answers stay natural. |
| Frame Shot | Eye level, rule of thirds, background blur mode if available. Check headroom, eyeline, and background movement before rolling. |
| Capture Audio | External mic close, record room tone, monitor levels. Listen on headphones for rustle, hum, traffic, and echo. |
| Record and Edit | Bring energy, shoot B roll, edit on phone or computer. Start with a short test answer and review before the full interview. |
| Wardrobe Touches | Solid colours, blotting paper, lint roller for polish. Avoid patterns and anything likely to rub against the mic. |
Ready to put these ideas into practice? Get in touch via the site for tailored advice, and revisit this checklist when you change phones or camera apps so your setup still matches what your device supports.