
Live Event Filming Essential Gear Guide
Last reviewed March 2026
Filming a live event as a content creator can build trust and credibility quickly because it shows you can deliver under pressure, but it may feel difficult at first without the right gear and preparation. This guide focuses on the essential kit and decisions that most often affect whether your footage is usable, especially for solo creators and small teams. Whether you're capturing a conference, seminar, or panel, this guide walks you through the essentials, cameras, audio, lighting, and safety so you can produce professional footage in challenging venues. It is especially useful for solo creators and small teams who need a reliable setup more than a complex one. If you want the wider process around planning and shoot decisions, our creator and small team production guide gives useful context before you finalise your event kit.
Planning Your Live Event Shoot
Not all venues are created equal, and thorough planning can prevent issues like cramped spaces, blocked sightlines, or inadequate lighting from becoming shoot-day problems. You might end up filming in a hired bar, an old hotel basement with mixed or dull lighting, or a room not suited for speakers. Knowing your environment in advance helps you prioritise camera positions, audio runs, and setup time. A good planning order is simple. Confirm the room and timetable first, then audio access, then camera positions, then lighting support, then safety and cable routes. If time is short, protect audio access and one safe camera position before anything else. Here's how to get ready
Check the venue remotely if scouting isn't possible. Request photos or floor plans from organisers and review the venue website to evaluate size, layout, and lighting. Larger rooms might require longer cables for tight shots, while small spaces could need compact gear.
Arrive early to set up and test. Reach the venue well before attendees to troubleshoot. Level tripods, test camera angles, and verify sound desk connectivity for a clean audio feed, checking levels to prevent clipping. If providing mics, pre-test them for reliability.
Coordinate with organisers. Obtain schedules or access to restricted areas. Collaborate to establish a safe stage zone for speakers, marked away from big screens or podiums to avoid distracting projections. Ask about risers or elevated platforms to position cameras above crowds for unobstructed shots.
These steps help you adapt faster on the day, from sleek conference halls to cramped basements, while reducing avoidable setup mistakes. They also make it easier to decide what you can safely leave out if you are working with a small kit.
Questions to Ask Organisers
Before you arrive at the venue, ask a short set of briefing questions about the event and space. This helps set expectations, gives you a clearer picture of the job, and reduces surprises on the day. You may have additional questions, but the following are essential because they directly affect coverage, setup time, and what gear you need to carry
| Question to ask organisers | Why this matters |
|---|---|
| How big is the venue space, and how many people does it approximately hold? | This helps you judge lens choice and camera positions early, for example a long zoom lens for large rooms to capture tight shots from the back. It also helps you spot when a room that sounds fine on paper becomes difficult once chairs, banners, and audience movement are in place. |
| Will there be a separate sound desk team capturing audio? | If a sound team is providing audio, confirm what output you can take and test. If not, you need to know exactly how many microphones to supply for solo presenters or panels. Ask this early so you can bring the right cables and adapters rather than guessing on site. |
| What is the lighting like at the venue? Can you share photos or a website for details? | This helps you assess whether extra lighting is needed and where it can go without distracting speakers or the audience. It also tells you whether lighting stands will create access or trip issues in narrow spaces. |
| What are your expectations for film quality? Is one camera sufficient, or do you need two or three? | This clarifies the minimum brief so you can match coverage to expectations rather than overpacking or underdelivering. It is also the point to confirm priorities if you cannot cover everything with one operator. |
| When does the event start and end? What are the full details, including the website if available? | Knowing the agenda helps you plan media, batteries, and crew stamina across the full day, not just the headline session. It also helps you spot changeovers, Q and A segments, or breaks when camera moves are safer. |
| How soon does the venue open, for example if the event begins at 9 AM, can I access it from 7 AM? | Early access gives you enough time to set up and test your gear before attendees arrive. |
Asking these upfront ensures you're better prepared and easier to work with on site. It also gives you a clearer record of what was agreed before the event starts.
Essential Gear for Live Events
Gear choices matter because live events usually give you one chance to get the shot and the sound. Wrong choices can lead to missed moments or footage that is hard to use later. Below is the essential kit, with minimum requirements and recommendations. If budget is tight, protect audio, stable camera support, and power first. Those usually affect whether the footage is usable at all. Extra accessories can help, but they should not come before a stable recording setup.
Cameras
One camera can cover a basic event if you choose a reliable position and protect your framing. Recommended two cameras for safer coverage and more editing flexibility with a wide shot for stage and audience context and a close-up for speaker expressions. With three, add a wildcard for unique angles such as side views or audience reactions. For solo operators, keep cameras close enough to monitor focus and settings. In many cases, one well-placed locked-off camera is better than two cameras you cannot monitor properly.
Tripods
Bring enough tripods to support all cameras for stability. Fluid-head tripods help with controlled panning when needed.
XLR cables or similar
Bring the cables you need for audio connectivity from the sound desk and carry spares, including longer runs for larger venues.
Sound recorder
One portable recorder is often the minimum if you are taking a feed from the sound desk or supplying your own microphones, for example units from Zoom or Sound Devices. Where possible, record a backup source as well as the desk feed, and ensure the recorder supports enough inputs for panels if no desk audio is available. Always monitor with headphones when you test the feed and again when the event begins because levels and routing can change at the last minute. If you are taking a desk feed, confirm whether it is mic level or line level so you do not overload the recorder input. A simple rule is test the feed, monitor the start, and keep a backup running if you can.
Microphones
If supplying them, bring enough mics for the actual format and a spare where possible, whether that is a solo presenter or panel. Alternatively, wireless lapel mics can work well, especially when you need cleaner speech and limited cable runs. For panel sessions, a simple backup plan can be a room mic for audience and stage ambience so you still have usable context if one spoken channel fails, and that footage becomes much easier to finish when you understand how ambient sound and room tone support continuity without masking speech.
Lighting
Portable LED panels can help if venue lighting is inadequate.
Monitors optional
Larger monitors can make focusing and exposure checks easier, especially in bright rooms or long sessions.
Notes
Manual focus is often the safer choice for locked-off wide shots, especially when people move across the frame or stage lighting changes. For close-ups, manual focus can still work well, but reliable autofocus may be useful if one speaker is moving and you cannot ride focus constantly. Activate focus peaking if available for precision. In Europe, PAL is standard and NTSC is common elsewhere, but regardless of region, super high frame rates are rarely needed for standard event coverage. Opt for 24, 25, or 29.97 FPS to save memory card space unless the brief specifically requires slow motion capture. Match frame rates across cameras where possible to simplify editing later.
Carry spare batteries, ideally USB-charging cameras for continuous recording, and memory cards for long shoots, and plan where you will store used cards safely during the event. A simple labelled pouch system for fresh and used cards can prevent accidental formatting when you are tired.
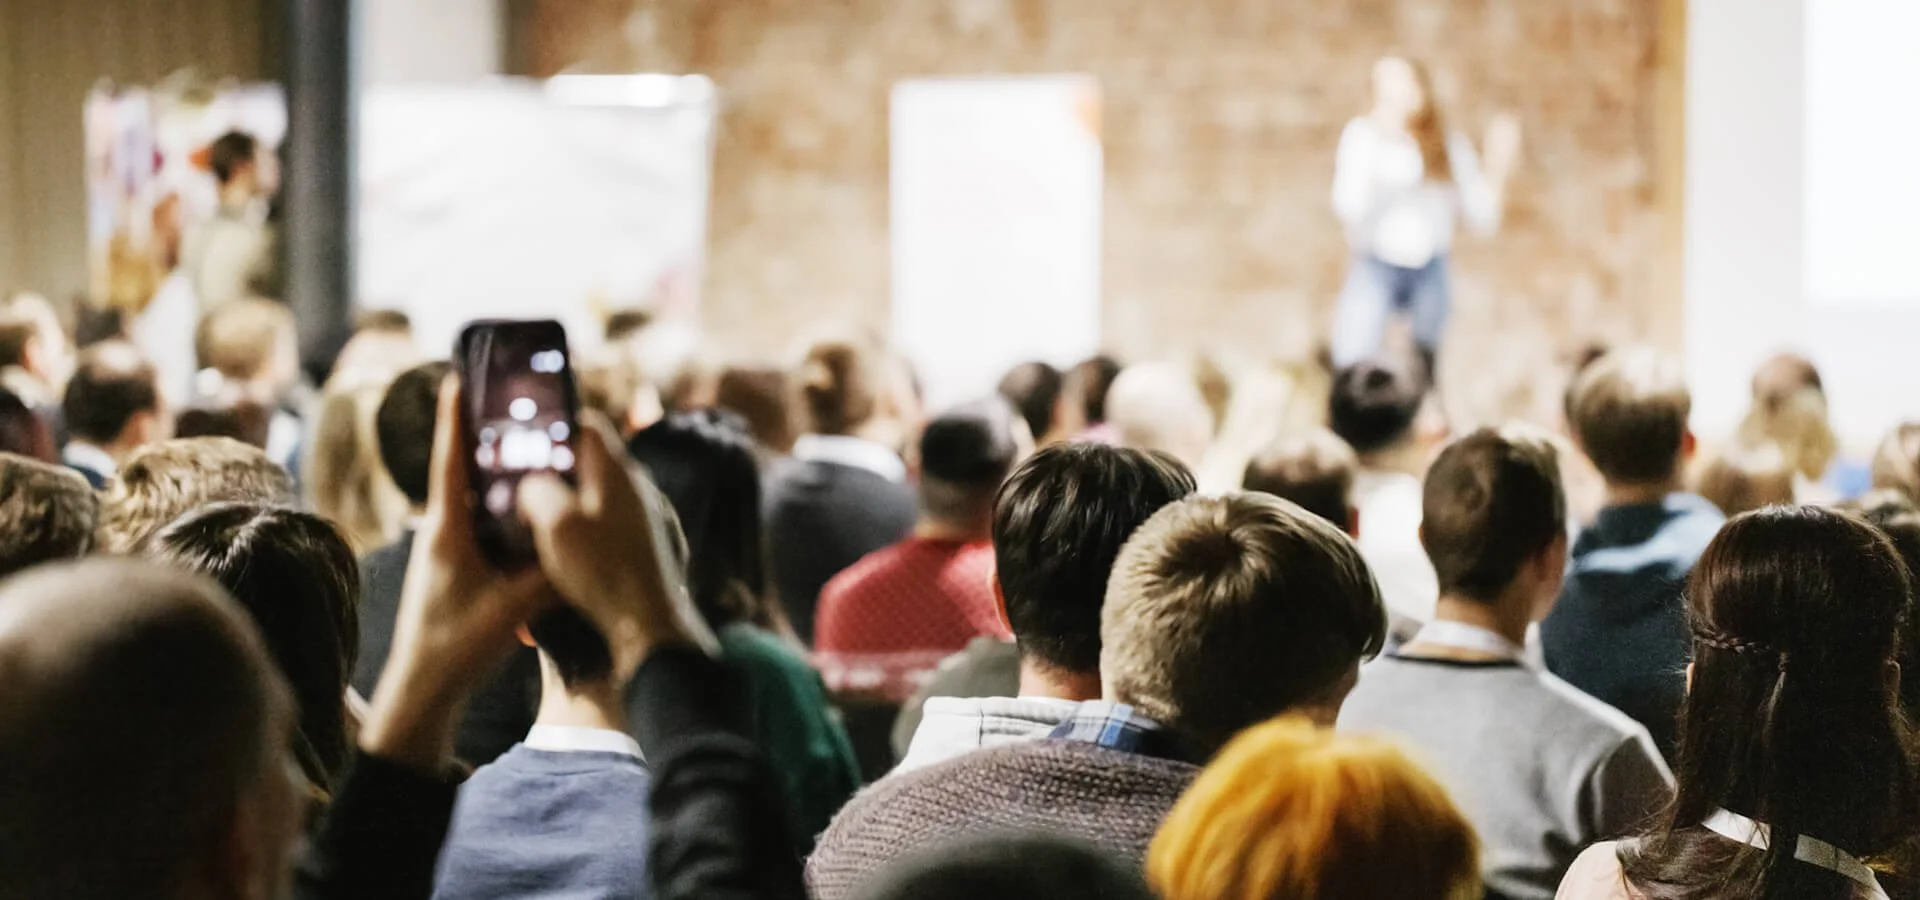
Utilise Multiple Cameras for Dynamic Shots

Many events are covered by two or more cameras for a varied visual experience. However, even a two-camera setup, positioned on robust tripods, can deliver both wide-angle and close-up shots. For small crews, the second camera is often less about style and more about protection if one camera is blocked, bumped, or loses focus. A reliable sequence is to lock your safe wide shot first, confirm audio is recording, then build your closer angle. If you're concerned about battery life, opt for cameras compatible with external power banks or those that can operate on mains power.
Safety and Crew Considerations for Live Events
I'm going to be honest with you, we all get tired, and it's easy to lose focus when you haven't eaten or stayed hydrated. As simple as this might sound, make sure you eat and drink during the day, especially for long events or unfamiliar topics where attention might wander. Safety ensures a smooth shoot, particularly in challenging venues and it usually starts with clear responsibilities and cable planning. n the UK, HSE guidance is a useful reminder that temporary cabling should be routed and protected to reduce trip hazards and damage risk. If you are filming outside the UK, check your local country guidance and venue rules for the relevant safety requirements.
Use tape and suitable cable protection where needed in high-traffic areas.
Avoid routing cables across main walkways where possible.
Schedule breaks and hydration to help the crew stay focused.
Confirm who is responsible for venue access, power points, and restricted zones before setup starts.
Walk your cable routes before doors open, then check them again after any last-minute room or seating changes.
Prepare for realistic failures with spare batteries, spare cables, and a backup plan for power loss.
Good cable housekeeping also helps reduce trip risk in pedestrian routes, which is another reason to treat safety checks as part of your setup, not as an afterthought.
Key Takeaways
Plan the venue first so you can adapt to the space and pack the right kit
Check photos, confirm access, then plan camera positions and cable runs before you pack.Protect a reliable camera setup before adding extra angles
Use two cameras if possible, keep one safe wide shot, and only add more coverage if you can monitor it properly.Prioritise audio because unusable sound can ruin otherwise good footage
Confirm who is handling audio, monitor with headphones, record a backup source where possible, and check feed level at the recorder input before recording.Keep lighting practical and non-disruptive
Use portable LEDs in dim venues and place them where they do not block access or distract speakers or audience sightlines.Treat safety and cable routing as part of the filming plan
Tape and protect cables, confirm responsibilities early, check routes before the audience enters, and recheck after room changes.