
What Is Ambient Sound in Content Creation?
Last updated: March 8, 2026
Music often gets most of the attention in video, but ambient sound is often what makes an edit feel believable. It can be the rain on a window, distant traffic, a quiet office hum, birds outside, or the sound of a room sitting underneath the main action. Used well, it adds realism, continuity, and mood without pulling attention from the message.
That matters more than many creators realise. A cut can look polished but still feel oddly disconnected if the sound drops into silence, shifts abruptly between shots, or doesn’t match the location on screen. For the wider picture on making video feel more polished across sound, lighting, and presentation, this works well alongside our video lighting and sound guide.
Ambient sound is also one of the simplest ways to improve perceived production quality without changing your camera. In many cases, it fixes the part of the edit that feels assembled rather than lived in. Dialogue cuts feel smoother. Locations feel clearer. Scenes feel less empty.
What Is Ambient Sound?
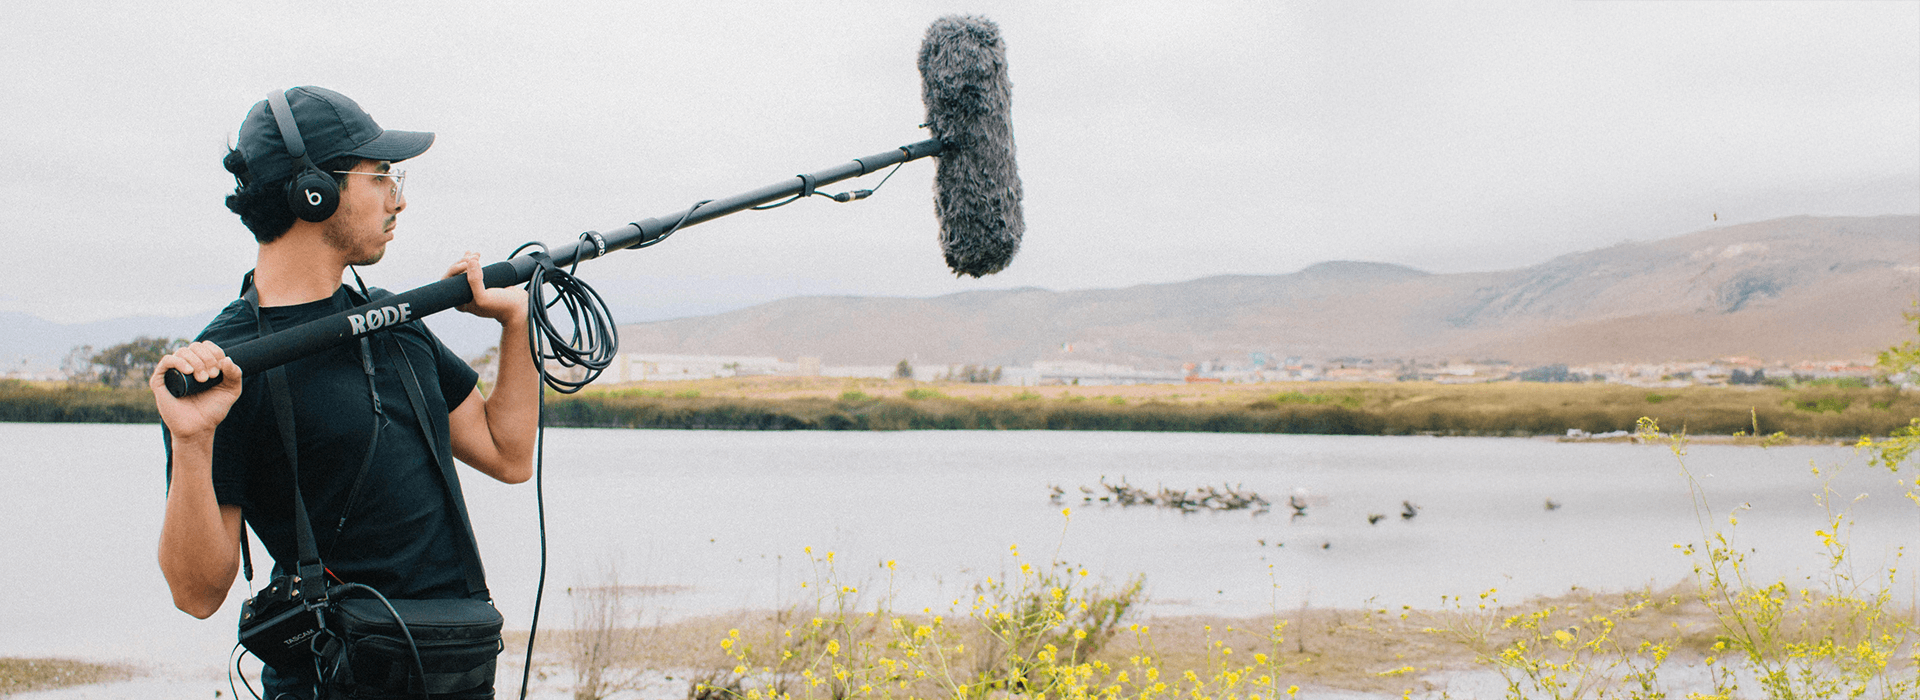
Ambient sound is the natural background audio in a scene. Unlike music or dialogue, it sits underneath the main content and provides context, space, and atmosphere. In practice, this often includes environmental sounds and room tone, while speech and music still carry the main message. If you want to see how that same layer works inside a fuller mix, sound design basics show how ambience supports dialogue, effects, music, and silence together.
It tends to work on two levels at once. First, it helps place the viewer in a specific setting. Distant traffic suggests a city. Wind and birds suggest an outdoor location. A light office hum can make an interior feel occupied rather than silent.
Second, it helps edits feel connected. When a dialogue edit jumps between clips with different background sound, the cut often becomes more noticeable. A subtle ambient bed can smooth that shift and make the sequence feel more natural.
That is why ambient sound matters even in simple videos. It’s not just decoration. It helps the picture feel grounded.
Why Ambient Sound Often Makes More Difference Than People Expect
Many creators focus first on music because it feels like the obvious route to emotion. Music does matter, but it often sits on top of the edit. Ambient sound sits inside it.
That difference is important. Music can add pace or feeling, but ambience helps the viewer believe the space. Without it, a room can feel strangely dead. A street can feel generic. A documentary scene can feel pieced together rather than observed.
This is also why ambience often works best when it stays subtle. If people notice it because It’s too loud, too busy, or too literal, it can start competing with the actual content. In many cases, the best ambient layer is one the viewer feels more than consciously hears.
What tends to matter most is not adding more sound. It’s adding the right sound, at the right level, in the right place.
The Types of Ambient Sound That Usually Help Most
Not every scene needs the same kind of ambience. These are the types most creators use.

Ambient sound can come from the room itself, the wider location, or a specific recorded layer that helps the scene feel more natural.
Room tone
Room tone is the quiet sound of a space when no one is speaking. It can include air conditioning, distant traffic through a window, building hum, or the general sound floor of the room. This is often the most useful ambient sound for dialogue editing because it helps smooth cuts.
Environmental sound
This is the wider sound of a place. It might be a café background, birds in a park, traffic outside, or people moving in a corridor. It gives location context and can make a scene feel more specific.
Spot ambience
This is a more targeted background sound tied to a particular moment or action. It might be light keyboard tapping in an office scene or gentle crowd murmur before an event begins. Used carefully, it can support a shot without sounding staged.
Designed ambience
Sometimes the real background sound is weak, unusable, or inconsistent. In those cases, editors may build a subtle ambient layer from recorded material or licensed sound effects. The goal is still believability, not obvious sound design.
What to Record on Set So the Edit Works Later
This is where many ambient sound problems begin. Editors often try to fix everything later, but the easiest win is recording the right material while you are already in the space.
The most useful habit is recording room tone after each setup. If the subject moves rooms, the camera angle changes, the air conditioning comes on, or more people enter the space, the background sound may change too. A short clean recording of that environment gives you something to work with in the edit.
In practice, 20 to 60 seconds is often enough for room tone after each meaningful setup change. That small step can save a surprising amount of repair work later.
It also helps to record a little wider than you think you need. A few extra seconds before and after an action, an interview answer, or a location shot can give you cleaner background sound to carry across a cut.
If you are filming outdoors, pay attention to what changes while you are recording. Wind, traffic flow, birds, crowds, and distant machinery can shift quickly. That doesn’t always make the recording unusable, but it does mean you should capture a little more than you think you need while the sound still matches the scene.
How to Use Ambient Sound Without Making the Edit Feel Busy

Review ambience in context with dialogue and music so the edit feels natural without making speech harder to follow.
The common mistake is assuming ambience always needs to be audible. It doesn’t. It needs to support the scene.
A good working order is to cut dialogue first, add music if the piece needs it, and then restore continuity and place with ambience. That usually makes it easier to hear what the scene actually needs. If you build the ambience layer too early, you can end up mixing around it rather than judging the edit clearly.
When you add ambience, keep asking a simple question. Does this make the scene feel more believable, or just more crowded?
That question helps because ambient sound can solve very different problems.
It can smooth a dialogue cut
It can make a location feel clearer
It can stop silence from feeling unnatural
It can support pace and atmosphere in montage sequences
But it can also create problems.
It can mask important words
It can draw attention to itself
It can clash with the actual space on screen
It can make a clean voice-over feel murky
In many talking-head videos, the best result is a very light bed under speech, or no added ambience at all if the room already sounds natural.
What Tends to Matter Most in the Edit
When people say a video sounds polished, they are often reacting to continuity more than obvious sound effects.
That usually comes down to a few habits.
Keep the ambient layer subtle under speech
Match the ambience to the location and time of day
Use one main environmental bed rather than stacking lots of unrelated sounds
Check the mix on speakers, not just headphones
Lower or mute the ambience if it starts masking the message
Phone and laptop speakers are especially useful here. A mix that feels balanced on headphones can become muddy on small speakers. If words lose clarity there, the ambient layer is usually too strong, too dense, or sitting in the wrong part of the frequency range.
A Practical Workflow That Helps More Than It Sounds
This is the sequence that tends to save the most time.
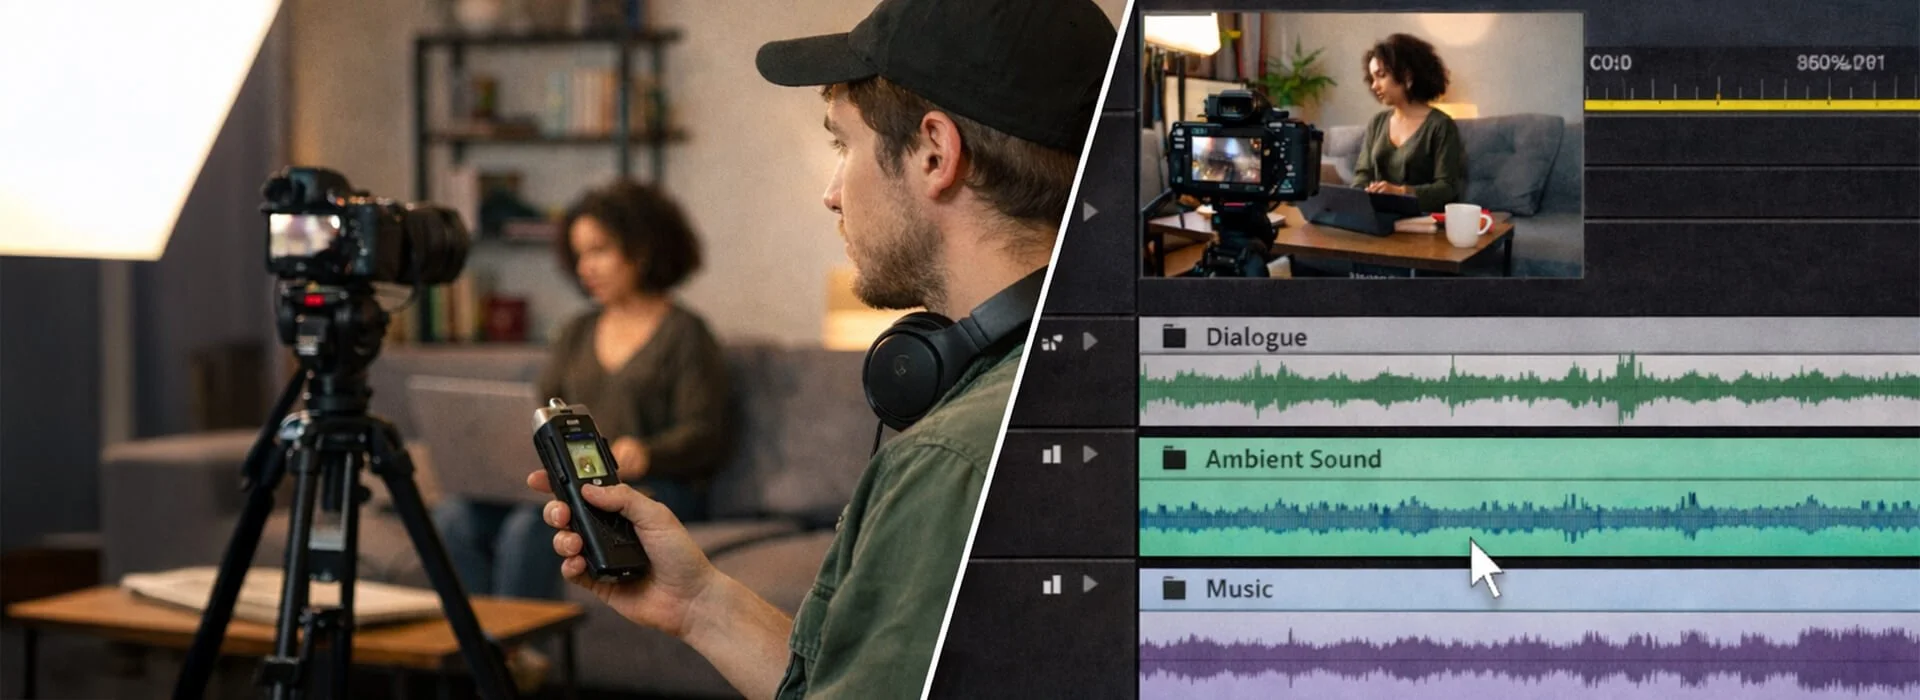
Capture clean room tone on location, then layer ambient sound subtly in the edit to smooth cuts and keep speech clear.
| Stage | What it did well | Why it gets missed | What to do instead |
|---|---|---|---|
| Capture room tone after each setup | Gives you matching background sound for smoother dialogue edits | Teams move on quickly once the main take is done | Record 20 to 60 seconds before changing position, lighting, or people in frame |
| Build the ambience layer late in the edit | Makes it easier to hear what the scene actually needs | It can feel faster to stack sound early for instant polish | Cut dialogue and music first, then add ambience to restore continuity and location feel |
| Keep ambience subtle under voice-over | Adds realism without pulling attention from key words | Ambience and music can sound fine on headphones but mask speech on speakers | Check the mix on phone and laptop speakers and lower the ambient layer if speech loses clarity |
| Match ambience to the picture | Helps the location feel believable and connected to the visuals | Generic background beds are quick to drop in | Choose one main environmental bed that matches scene energy, space, and time of day |
| Use noise reduction carefully | Can reduce steady background hiss and improve usability | Heavy settings can create artificial sounding artifacts | Preview lightly processed audio and stop when the cure sounds worse than the noise |
When Ambient Sound Helps Most
Ambient sound doesn’t need to work the same way in every video. What helps in an interview may be too much for a tutorial, and what feels immersive in observational footage may distract in a brand piece. The key is matching the ambient layer to the job the scene needs to do.
| Content type | How ambient sound helps | What to watch for | What tends to work best |
|---|---|---|---|
| Brand and promotional videos | Supports realism and place in workspaces, retail settings, cafés, or event environments | Busy layers can make the mix feel crowded and distract from the main message | Choose one controlled ambient bed that supports the setting without overpowering speech or music |
| Documentary and observational work | Carries a lot of the location feel and helps scenes seem lived in | Generic or mismatched ambience can make real footage feel less believable | Use location-specific sound that supports the sense of presence without sounding staged |
| Interviews | Makes dialogue edits feel smoother, especially when trimming pauses or combining answers | Too much background sound can make speech less clear or draw attention to the edit | Use subtle room tone that matches the space and keeps joins from feeling obvious |
| Tutorials and educational content | Adds realism without making the track feel empty or overly clinical | Heavy ambience can reduce clarity and compete with instruction | Keep the ambient layer very light, or use clean natural room sound on its own |
Common Mistakes With Ambient Sound
Most problems come from a short list of habits.
Using generic ambience that does not match the scene
A sound bed may be technically clean and still feel wrong. If the picture says small office and the sound says large public space, viewers may not explain the problem, but they often feel it.
Making it too loud
This is one of the easiest mistakes to make because ambience often sounds exciting in isolation. In the full mix, it can start covering speech or pulling attention from the actual point.
Stacking too many layers
More sound doesn’t always mean more realism. In many cases, one clear and believable bed works better than several competing layers.
Relying on heavy noise reduction
Noise reduction can help with steady background sounds such as hum, hiss, or fan noise, but Audacity’s own manual says It’s not well suited to irregular sounds such as traffic or audience noise. Heavy processing can leave speech sounding thin or artificial.
Forgetting to capture room tone
This is often the simplest fix and the one people skip most often.
Where to Find Ambient Sound Safely
There are three common routes.
You can record your own, which is often the best option when you need a close match to the scene.
You can use library material, which is useful when the original recording is weak or when you need to build a location more carefully in post.
Or you can combine the two, using recorded room tone as the base and a small licensed layer if the scene still feels thin.
If you use sound libraries, check the terms carefully before publishing. Freesound says sounds on the site use Creative Commons licences, and those conditions vary by file. BBC Sound Effects allows personal or educational use on its archive site and offers licensing for other uses. Epidemic Sound says content published during an active subscription stays cleared according to its licence model, but the exact use case still needs to match the plan and terms.
That is one reason original recordings are often simpler for small creators. They may not be perfect, but they can fit the picture better and reduce licensing uncertainty.
Do You Need Special Software?
Not necessarily. Most editors can work well with ambient sound using basic level control, fades, and a little EQ. The bigger difference usually comes from judgement rather than software.
Tools like Audacity can still be helpful for simple clean-up, but It’s worth staying realistic about what clean-up can do. Audacity’s Noise Reduction tool is designed for more constant background sounds such as hum, hiss, or fan noise. It is less effective on irregular sounds, and aggressive settings can create unnatural artifacts.
That is why cleaner recording usually beats heavier repair.
The Best Way to Judge Ambient Sound
Do not judge it only on headphones.
Listen on the device your audience is likely to use. A phone, laptop, or small speaker often reveals problems much faster. If the speech becomes harder to follow, if the ambience feels obvious, or if the location suddenly sounds artificial, pull it back.
A good test is whether the scene feels less believable when you mute the ambient layer, but more cluttered when you turn it up. If that happens, you are usually close. The right level is often somewhere just above absence.
Final Thoughts
Ambient sound is powerful because it does quiet work. It helps a cut feel smoother, makes a room feel real, and gives a sequence a sense of continuity without drawing attention to itself.
The strongest use of ambience is usually not dramatic. It’s deliberate. In most cases, the best result comes from noticing what the edit needs rather than forcing extra sound into it.
That usually means recording room tone while you are already in the space, adding ambience late enough in the edit to judge it properly, and keeping it subtle under speech. It also means matching the sound to the picture rather than dropping in a generic background bed that happens to feel convenient.
If an ambient layer makes the message harder to follow, It’s usually better to lower it or leave it out. That approach will often take you further than chasing instant polish with music alone.