
The Three Stages of Video Production Explained
Last reviewed March 2026

Proper planning and balance across the three stages of video production can make all the difference between smooth projects and chaotic ones. Skip or rush any stage, and small problems often compound into delays, reshoots, or weak edits. Handle them well, and even modest projects can feel more professional.
Whether filming with a smartphone or a full crew, these stages form the backbone of every successful video. Think of them like building a house. Pre-production sets the plan, production captures what was planned, and post-production shapes it into a clear final piece.
This guide walks through each stage with practical tips so you can apply them with more confidence and spot common problems before they slow the project down. It’s built for beginners, students, solo creators, and small teams who want a clear way to plan a video from idea to final edit. If you’re building your overall process, the video production fundamentals for creators and small teams framework gives useful context for how this stage-by-stage approach fits into a full workflow.
Overview: The Three Essential Stages
Every video follows the same core process:
Pre-production: Planning and preparation
Production: Filming and capture
Post-production: Editing and polish
A common time split that works well for many projects is around 40% pre-production, 30% production, and 30% post-production. These percentages are a planning guide, not a rule. Interview-heavy shoots, complex approvals, travel, or multiple deliverables can shift the balance quickly. If you’re filming in multiple locations or creating several versions from one shoot, planning and post-production often take longer than expected.
If the deadline is tight, this framework helps protect quality in the places that matter most. It gives you a way to keep the essentials in place when time pressure makes everything feel equally urgent, which is often when rookie filming mistakes start compounding across planning, shooting, and post.
| Stage | What to prioritise first | Common mistake when time is tight | What to do instead |
|---|---|---|---|
| Pre-production | Goal, audience, main message, shot priorities, and audio plan | Cutting planning time and hoping the shoot will sort itself out | Keep planning lean but clear, then remove optional shots before removing prep |
| Production | Must-have shots, clean audio checks, and key interview or action moments | Spending too long on nice-to-have visuals before securing core footage | Capture the essential story first, then add extra coverage if time allows |
| Post-production | Story structure, pacing, and audio clarity before graphics and polishing | Adding transitions and effects before the edit structure is working | Finish a clear rough cut first, then improve visuals and sound in passes |
| Delivery and review | Playback checks on target devices and readable captions or text overlays | Reviewing only on one screen and missing mobile readability issues | Check on a phone and a larger screen before sign-off and export final versions |
Stage 1: Pre-production – Your Blueprint for Success
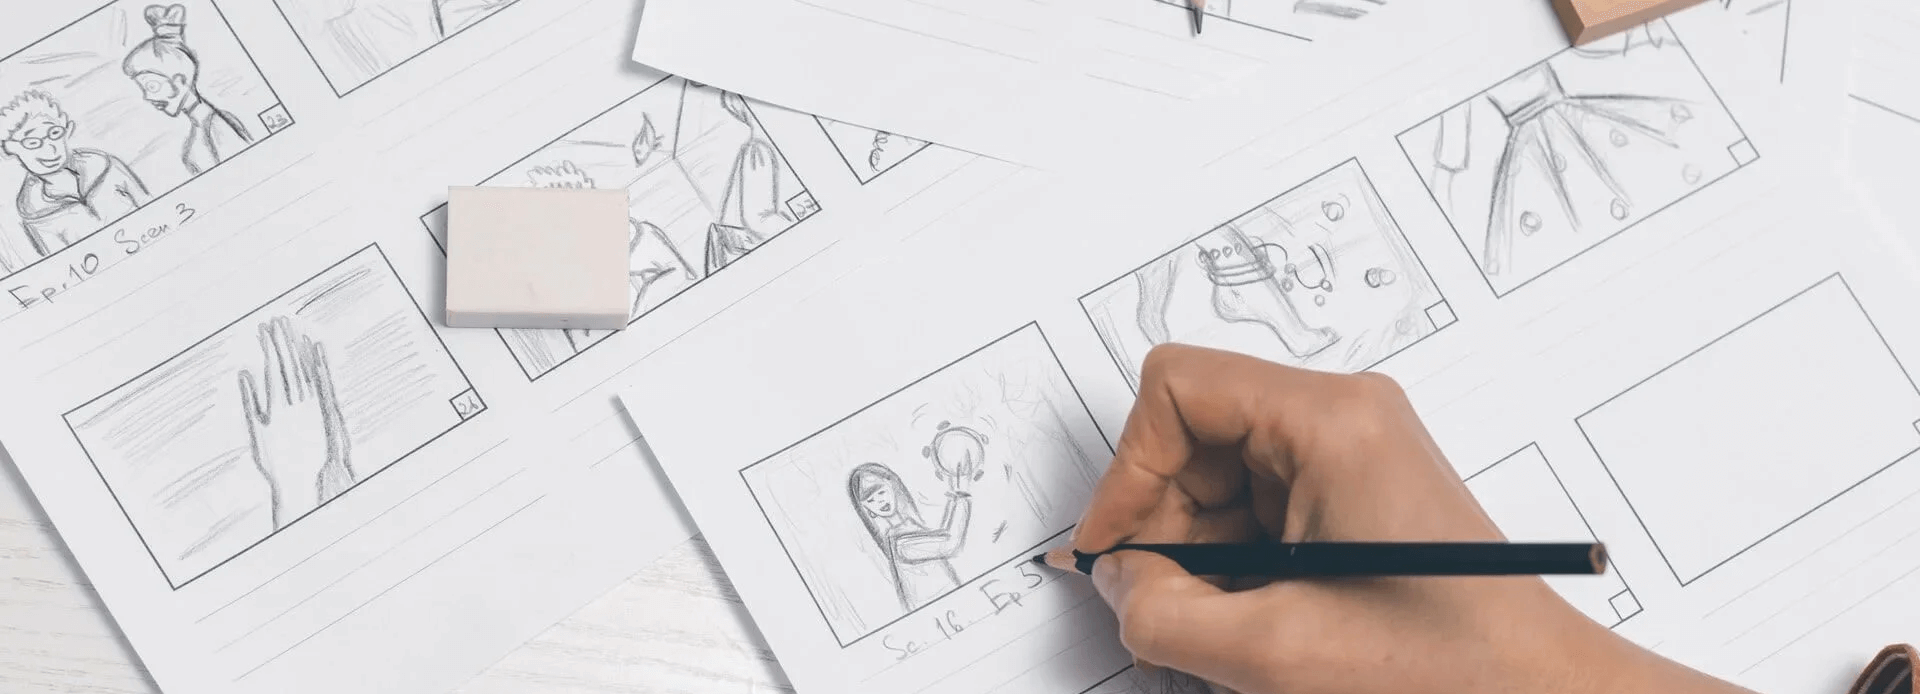
Pre-production is where many projects succeed or fail. This planning phase covers everything before the camera rolls. Many beginners underestimate it, but thorough preparation often saves time, money, and stress later and cuts down on on-set guesswork.
Start by defining goals and audience. Write a clear script and create a storyboard to visualise the flow. Tools like Canva can help you mock up ideas quickly, but the main value is making decisions before shoot day.
Scout locations, cast talent if needed, and plan the shot list in detail. Think about audio early and check room noise, echo, and power access while you scout. If you choose music early for pacing, treat it as a temporary choice until the licence matches the platform and intended use.
B-roll planning deserves special attention. Footage that builds emotional connection helps viewers feel the story, not just watch it. A simple way to handle this is to list cutaways for transitions, process steps, and reaction moments so you’re not guessing on the day. Build buffers into the schedule for unexpected delays.
Key activities in pre-production
Define goals and target audience
Write scripts and create storyboards
Scout locations and arrange permissions
Cast talent and schedule participants
Plan shot lists and B-roll for emotional depth
Source music and prepare equipment lists
Stage 2: Production – Capturing the Magic
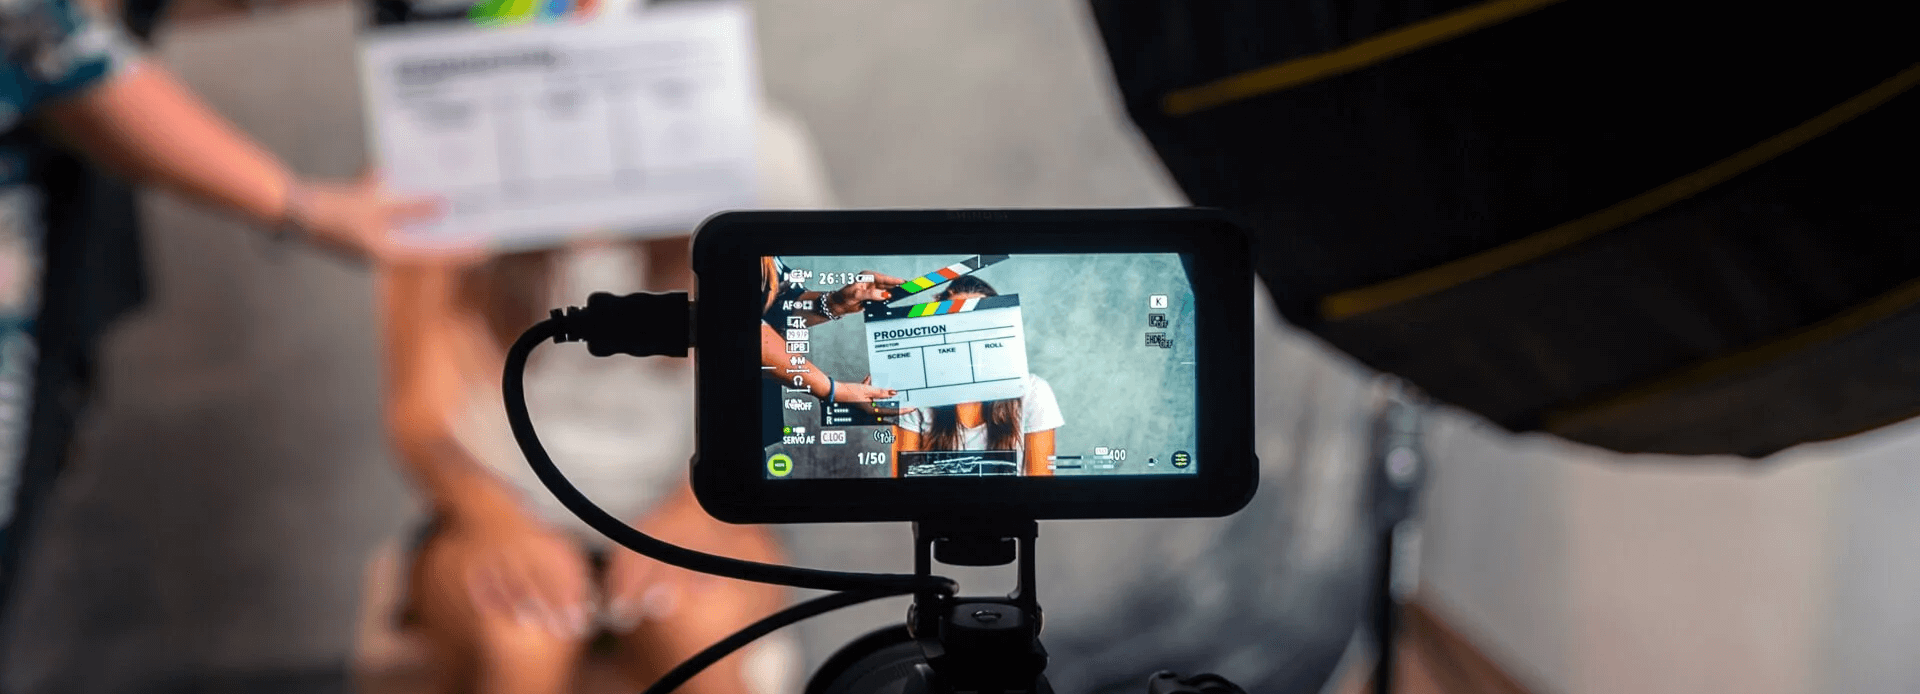
Production is the exciting phase where filming happens. Pre-production work now guides every decision on set and helps protect the must-have shots first.
Follow the storyboard to capture main shots. Set up lighting that flatters subjects, frame compositions thoughtfully, and prioritise clean audio with a headphone check before long takes. Attention to colour during filming carries through to editing and influences mood.
If the project includes interviews, choosing engaging contributors brings authenticity. Overshoot B-roll generously, but do it with intention and cover the cutaways that solve edit problems. Extra coverage gives flexibility later. Stock libraries like Storyblocks or Pexels can fill gaps if needed, though they usually work best as support rather than a replacement for key moments.
Always carry spares for the items most likely to fail on a long day, including batteries, memory cards, and microphones. Simple oversights here can derail a shoot.
Key activities in production
Follow storyboards for main shots
Set up lighting, framing, and audio
Capture interviews and primary footage
Film plenty of B-roll for flexibility
Use additional tools like drones for dynamic angles if suitable
Stage 3: Post-production – Turning Raw Footage into Gold

Post-production transforms captured material into a cohesive, polished video. This stage often takes as much care as the others combined because editing, sound work, and review rounds can expand faster than expected.
Begin with a rough cut to assemble the story and organise footage clearly before detailed finishing work starts. Once the structure is working, add graphics, titles, and transitions. Apply colour correction to unify the look and support the mood. Layer sound design, music, and voice-over for immersion.
Review multiple times, ideally with fresh eyes or feedback. A simple pass order helps here. Check story and pacing first, then audio clarity, then playback on a phone and a larger screen. Small tweaks here elevate the entire piece.
Key activities in post-production
Create rough cut and refine pacing
Add graphics, titles, and effects
Colour grade for consistent mood
Mix audio, music, and sound design
Final review and adjustments
Coffee Chronicles A Real-World Example

To see how the three stages connect in practice, consider a documentary-style project called Coffee Chronicles. It follows coffee beans from a small farm in Colombia to a popular café in New York City, combining interviews with farmers and café owners, B-roll from the farm and roasting process, and atmospheric shots of the bustling café.
A balanced time split for this type of project is around 40% pre-production, 30% production, and 30% post-production. That’s a useful starting point, but travel, multiple locations, and cross-border permissions can push more time into planning and post-production. Here is how the effort typically breaks down
Pre-production (40% of total time)
Research and planning (10%)
Research the coffee journey, understand the process, and set the visionLocation scouting and permissions (5%)
Visit potential sites and secure shooting approvals, especially across countriesStoryboarding and scripting (10%)
Craft the narrative, plan interview questions and B-roll shotsCasting and audio strategy (5%)
Choose interviewees, plan voice-overs if needed, and select background music
Production (30% of total time)
On-location shooting in Colombia (10%)
Capture farm scenes, interview the farmer, and film initial processingRoastery scenes (5%)
Document machinery, workers, and the roasting processNYC café scenes (5%)
Film the final product, interview owners and customers, and capture café ambience
Post-production (30% of total time)
Initial editing (10%)
Review footage, select best shots, and create a rough cutGraphics and enhancements (10%)
Add titles, transitions, colour correction, and effectsSound design and music integration (5%)
Layer ambient sounds, voice-overs, and selected musicFinal review and tweaks (5%)
Watch the full piece, make adjustments, and gather feedback
This example shows how careful allocation across the stages creates a cohesive final video. The percentages are flexible guides that suit many beginner and intermediate projects and tend to work best when they’re checked against the actual deliverables before filming starts.
Final Tips for Success
Allocate time thoughtfully across stages. Pre-production prevents costly fixes later. Production requires focus and flexibility. Post-production demands patience for polish. If time is tight, cut optional shots before cutting planning or review time. That usually protects quality better than trying to rush every stage at once.
Test everything on the intended viewing devices. What looks great on a large screen may need adjustment for mobile and captions or text overlays can read very differently on a phone.
Ready to plan the next video project with confidence? Start with strong pre-production and watch the results improve. Need hands-on support or feedback on a timeline? Explore the workshops or get in touch for personalised guidance.